Destiny 2 Marionberry is an error that usually occurs when players of Destiny launch the game or attempt to sign in. Users also reported not being able to go to the character selection screen. The error may indicate a problem with your networking setup.
There are many possible reasons for this including a wifi blip, or when changes to the network or parental settings are changed on either the home network or game console. The error may also occur when the router that the console is connected to is in bad condition.
It comes with a message, "Could not connect to the Destiny servers. Please try again later. For more information, visit help.bungie.net and search for error code: marionberry." It may occur on both PlayStation and Xbox consoles.
How to Fix Error Code Marionberry Destiny 2
Some of the common fixes include:
- Checking the server status
- Power cycling the console and modem router
- Changing the DNS address of the console
Please see our in-depth walk-through solutions below.
1. Check server status
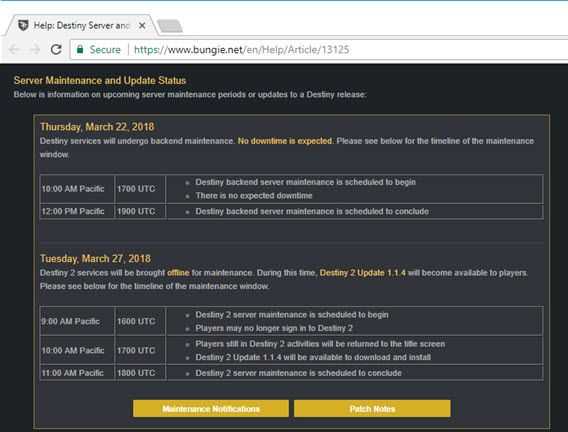
The Marionberry error code in Destiny 2 could be due to the Destiny server or your console servers such as PSN server and Xbox Live server. Check the servers status to determine the cause. If all servers are up and running, see the solutions below.

2. Power cycle the console and the modem router
The Destiny 2 Marionberry error code may also indicate a problem with the internet connection. Try to power cycle your console and your modem router by following the teps below.
- Turn off your console and the modem router.
- Then, unplug both devices for three minutes.
- Turn on both devices.
- Wait for the modem router to provide internet connection.
- Check your console for any system update. Do an update if it is available.
- Check Destiny for any game update. Do an update if it is available.
- Then, run Destiny.
3. Change DNS address of the console
The network setting set in your console could be the cause of the Destiny Marionberry error codes. Configure the network settings and manually set a DNS address. Use Google public DNS 8.8.8.8 and 8.8.4.4 for free, or call your internet service provider if they could provide you a DNS. To manually input a DNS address on your console, follow the instructions below.
Xbox ONE
- Press the Guide button on your controller.
- Select All Settings ==> Network ==> Network settings ==> Advanced settings.
- Select DNS Settings and select Manual.
- Then input the DNS address.
- Restart the console.
PS4
- From the main menu, go to Settings.
- Select Network Settings ==> Internet Connection Settings ==>Custom.
- Select WiFi for wireless and LAN for cable.
- Select Automatic for IP Address Setting ==> Do Not Set for DHCP hostname==> Manual for DNS Setting.
- Input the DNS address 8.8.8.8 and 8.8.4.4
- Select Automatic for MTU==> Do Not Use for Proxy Server.
- Save your settings.
If changing DNS address does not work, you might be under a network firewall. To bypass it, directly connect the console to the modem. If the firewall is provided by your internet service provider, such as parental control, please call them to disable it.

